Favorite Pinterest Finds

Today, I’m gonna show you some of my most favorite Pins from the last week!

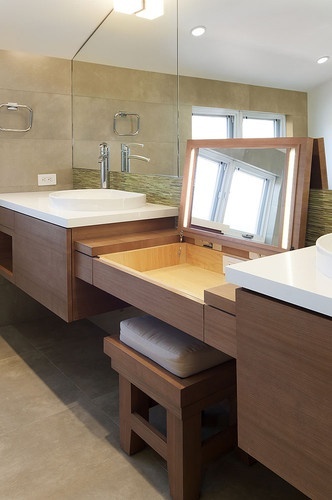
A make-up table so you can hide your mess when you're done.

I love this! You can put your make-up and/or hair things in there. Flip up the mirror while getting ready and put it back done once your done and it hides everything that’s inside!

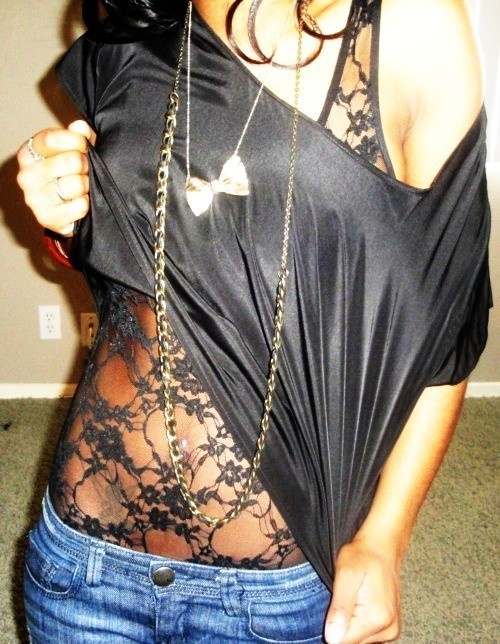
lace-undershirt-i-wantttttttt

Lace tanks are coming soon to Jourdan’s Jewels! I absolutely love this look. It’s a great way to change up the regular ol’ tank.

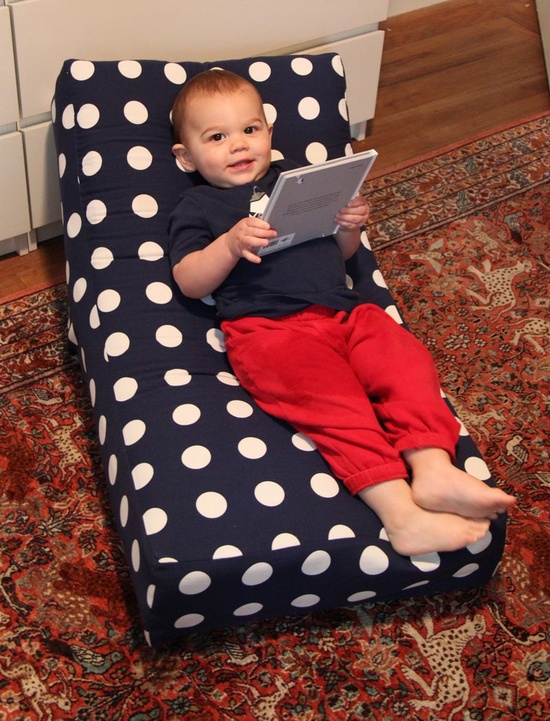
mini-lounger-tutorial

How cute is this little mini lounger for the youngin’s?!

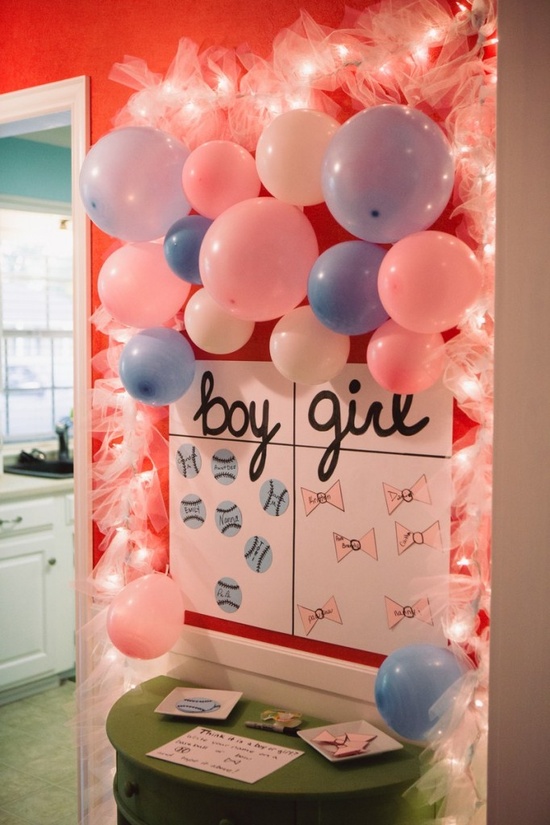
party-planner-baby-gender-reveal

For my next baby, I am dead set on doing a gender reveal party. I love this idea.

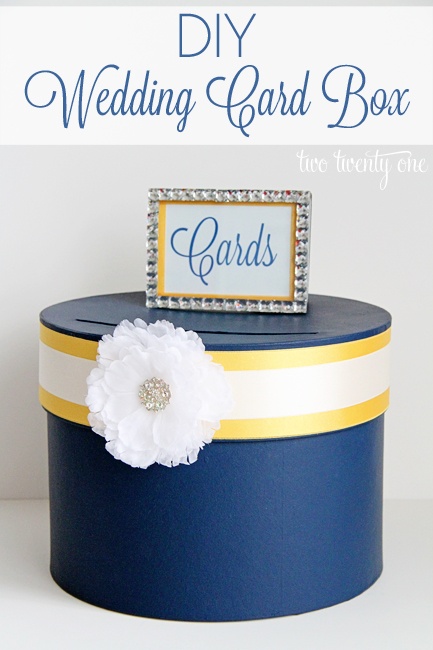
diy-wedding-card-box


I’m still not sure what is going on with our wedding. I should probably figure it out, eh? I’ve kind of given up. It’s too stressful, but I LOVE this box and it looks SO easy to make!

What was your favorite pin of the week?

signature

Subscribe

Spray Painted Picture Frame

The last gift I made for their wedding present was the picture frame. You’re probably thinking.. “Why in the heck did you do it red, black, and white instead of white, black, and green?” I did it because their room is in thodr colors and I knew they could use something cute in there.

I bought the frame at Walmart for $2.97. It has a stand in the back, so it can be hung or just sat on a dresser or table or something. And I forgot to take a picture BEFORE I started painting it, so forgive me. But you get the idea of what it looked like. Just plain wood. I wanted to spray it white first because I knew the red would show up on it better than white showing on red, if you get what I mean.  I sprayed it all white and then left it dry for a little while.

I didn’t take very many pictures because I kept forgetting, but what I did after I sprayed it white and let it dry was measure how big I wanted my stripes, then I put a piece of tape over the place where I wanted a white stripe. In my case, I just did the stripes as big as the tape, so I placed two pieces of tape all the way around the frame. Then I sprayed it red. I made sure to spray the sides as well so the stripes would carry over. I would recommend using painters tape, rather than just packing tape.. haha. Mine did bleed a little, which sucked, but whatever. “It gives it character,” as Kade would say.

I let the red paint dry before I peeled the tape off and once I pulled the tape off, this is what it looked like. You can see the little places where the paint bled, dang it! I probably should have sprayed it a little more, too, to make sure that it was all even, but I was in a hurry, so this is not the best. Sorry. Forgive me?

Then I took it in the house and added some glitter letters to spell their last name. I got the letters in the scrapbook section at Walmart for .97 for a bag of 50 or so letters. They also have them in white, but I thought black would look fab.

The glue hadn’t completely dried yet on the N, so nevermind that.

What do you think??

{If you missed how I made any of the other gifts, you can check them out here: cups, plate, and jar of dates.


Jar of Dates

Today, I am going to show you how I made the cute Jar of Dates! I was inspired by this on Pinterest.

What you’ll need:
*Jar
*Ribbon
*List of dates {you can make up your own or find a HUGE list of them here}
*Scissors or paper trimmer

First of all, I printed out all 17 pages of dates from here.

Some of the dates were really long and some were really short. A lot of them had another link attached for you to view more ideas on the date.

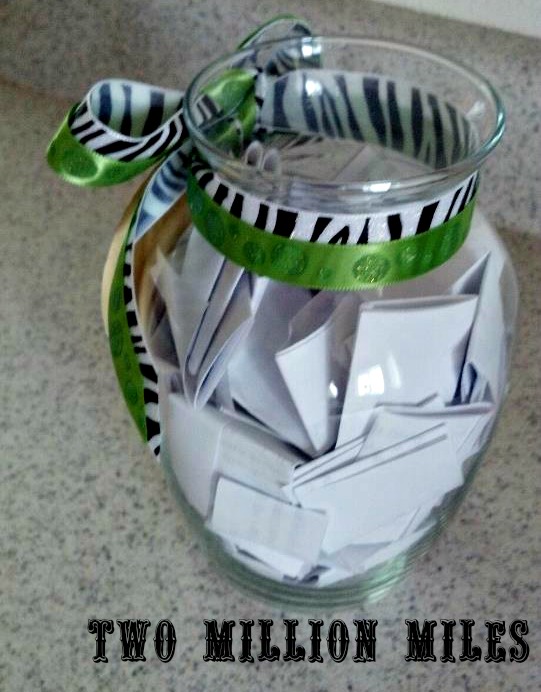
Then I cut up all the dates. Then I folded them and shoved them in the jar!

The jar was very full!

As you can see, I added some zebra and lime green sparkly, polka dot ribbon to the top and tied it into a pretty bow. I made the tag in Word and printed it, then cut it out and glued it on to some zebra paper. Then I just put double-sided tape on the jar and stuck on the tag! {If you do a can instead of a jar, you can find super cute, pre-designed labels here.}

And there you have yourself a pretty little, overflowing Jar of Dates!

So now you have seen how to do the cups, the plate, and now this!

Tomorrow I will show you how I did the frame!

Personalized Plate for $1

Today, I am writing about how I made that cute song plate.

If you have missed the last two posts, catch up with them here to see why I made these and here to see how to do the cups.

You will need:
*Plate
*Sharpie{s}

Set your oven to 150. You can draw/doodle/write while the oven is heating up.

I decided to write “their” song on it. Never Gonna Be Alone by Nickelback.

I looked up the lyrics, just to make sure I was getting every single word correct, even though I basically know this song by heart.. For two reasons.. 1 – Because I just love this song. 2 – This was the song played at Kade’s prom, so we listened to it only 185,083,850,568 times while practicing the dance.

I ended up having a little bit of white space {literally} in the middle and it looked a little lame if I just left it like that, so I drew a heart and wrote their names on one side and their wedding date on the other.

When you are finished drawing on the plate, stick it in the oven for 30 minutes. This will make it more permanent than it already is. It should be dishwasher safe.

**The plate looks like I never messed up {in fact, Matt was surprised that I “didn’t” mess up one time} but I really did. I just realized it quickly and rubbed it off. So don’t fret if you mess up! It comes off, but you just have to act fast!

The possibilities are endless on what you can draw/doodle/write on here.

I got this plate at the Dollar Tree and I already had the sharpies, so the total cost of this gift was $1! It would be nice if you included a stand for the plate to sit on. You can get them at Wal-mart for like $3. I’m sure they have some at Michaels, Jo Ann’s, and Hobby Lobby, but our town isn’t cool enough to have any of those stores.

So now you have seen how to do the cups and the plate.

Tomorrow I will show you how to do the Jar of Dates!

Personalized Cups for $2!

If you missed yesterday’s post, you should go check it out because then you will understand why I made these cups!

They were SO simple!

Here’s what you’ll need:
*Cup
*Sharpie

{I chose these cups because their wedding theme was zebra and lime green.}

Set your oven to 150 and let it heat up while you draw.

Then you just draw/write whatever your pretty little {or big?} heart desires. As you can see, I wrote “His” and “Hers.” It was really hard to write it right there because I couldn’t get my hand inside of the cup. So it’s kinda shaky and doesn’t look so good, but it gives it character.. Right?

I also added their names to the bottom of the cup to spruce up the outside a little.

When you are all done drawing/doodling/writing on your cup, stick it in your oven and let it “bake” for 30 minutes. This will make the marker more permanent than it already was.

Easy, right?

I bought the cups at the Dollar Store for $1 each and I already had the Sharpies, so this only cost me $2! Score!

Tomorrow I will show you how I did the plate!

Five Personal Wedding Gifts

Last weekend, one of my best friends ever had her reception. She got married in January, but just in the court house. So needless to say, it wasn’t a very big event. Anyway, she had this reception up at Fish Lake. It was so pretty!

This is what I gave her and her husband.


I made each of those gifts. I like things that are personal and actually mean something. Plus, I didn’t know what to get them because they have been married since January and have lived together since before then, so I couldn’t think of anything else that they needed.

I will post tutorials on how I made each of these throughout the week, but I just wanted to give you something to look forward to over here!

All wrapped up! Keep checking back to see how I made the frame, the Jar of Dates, the cups, the plate, and the necklace!